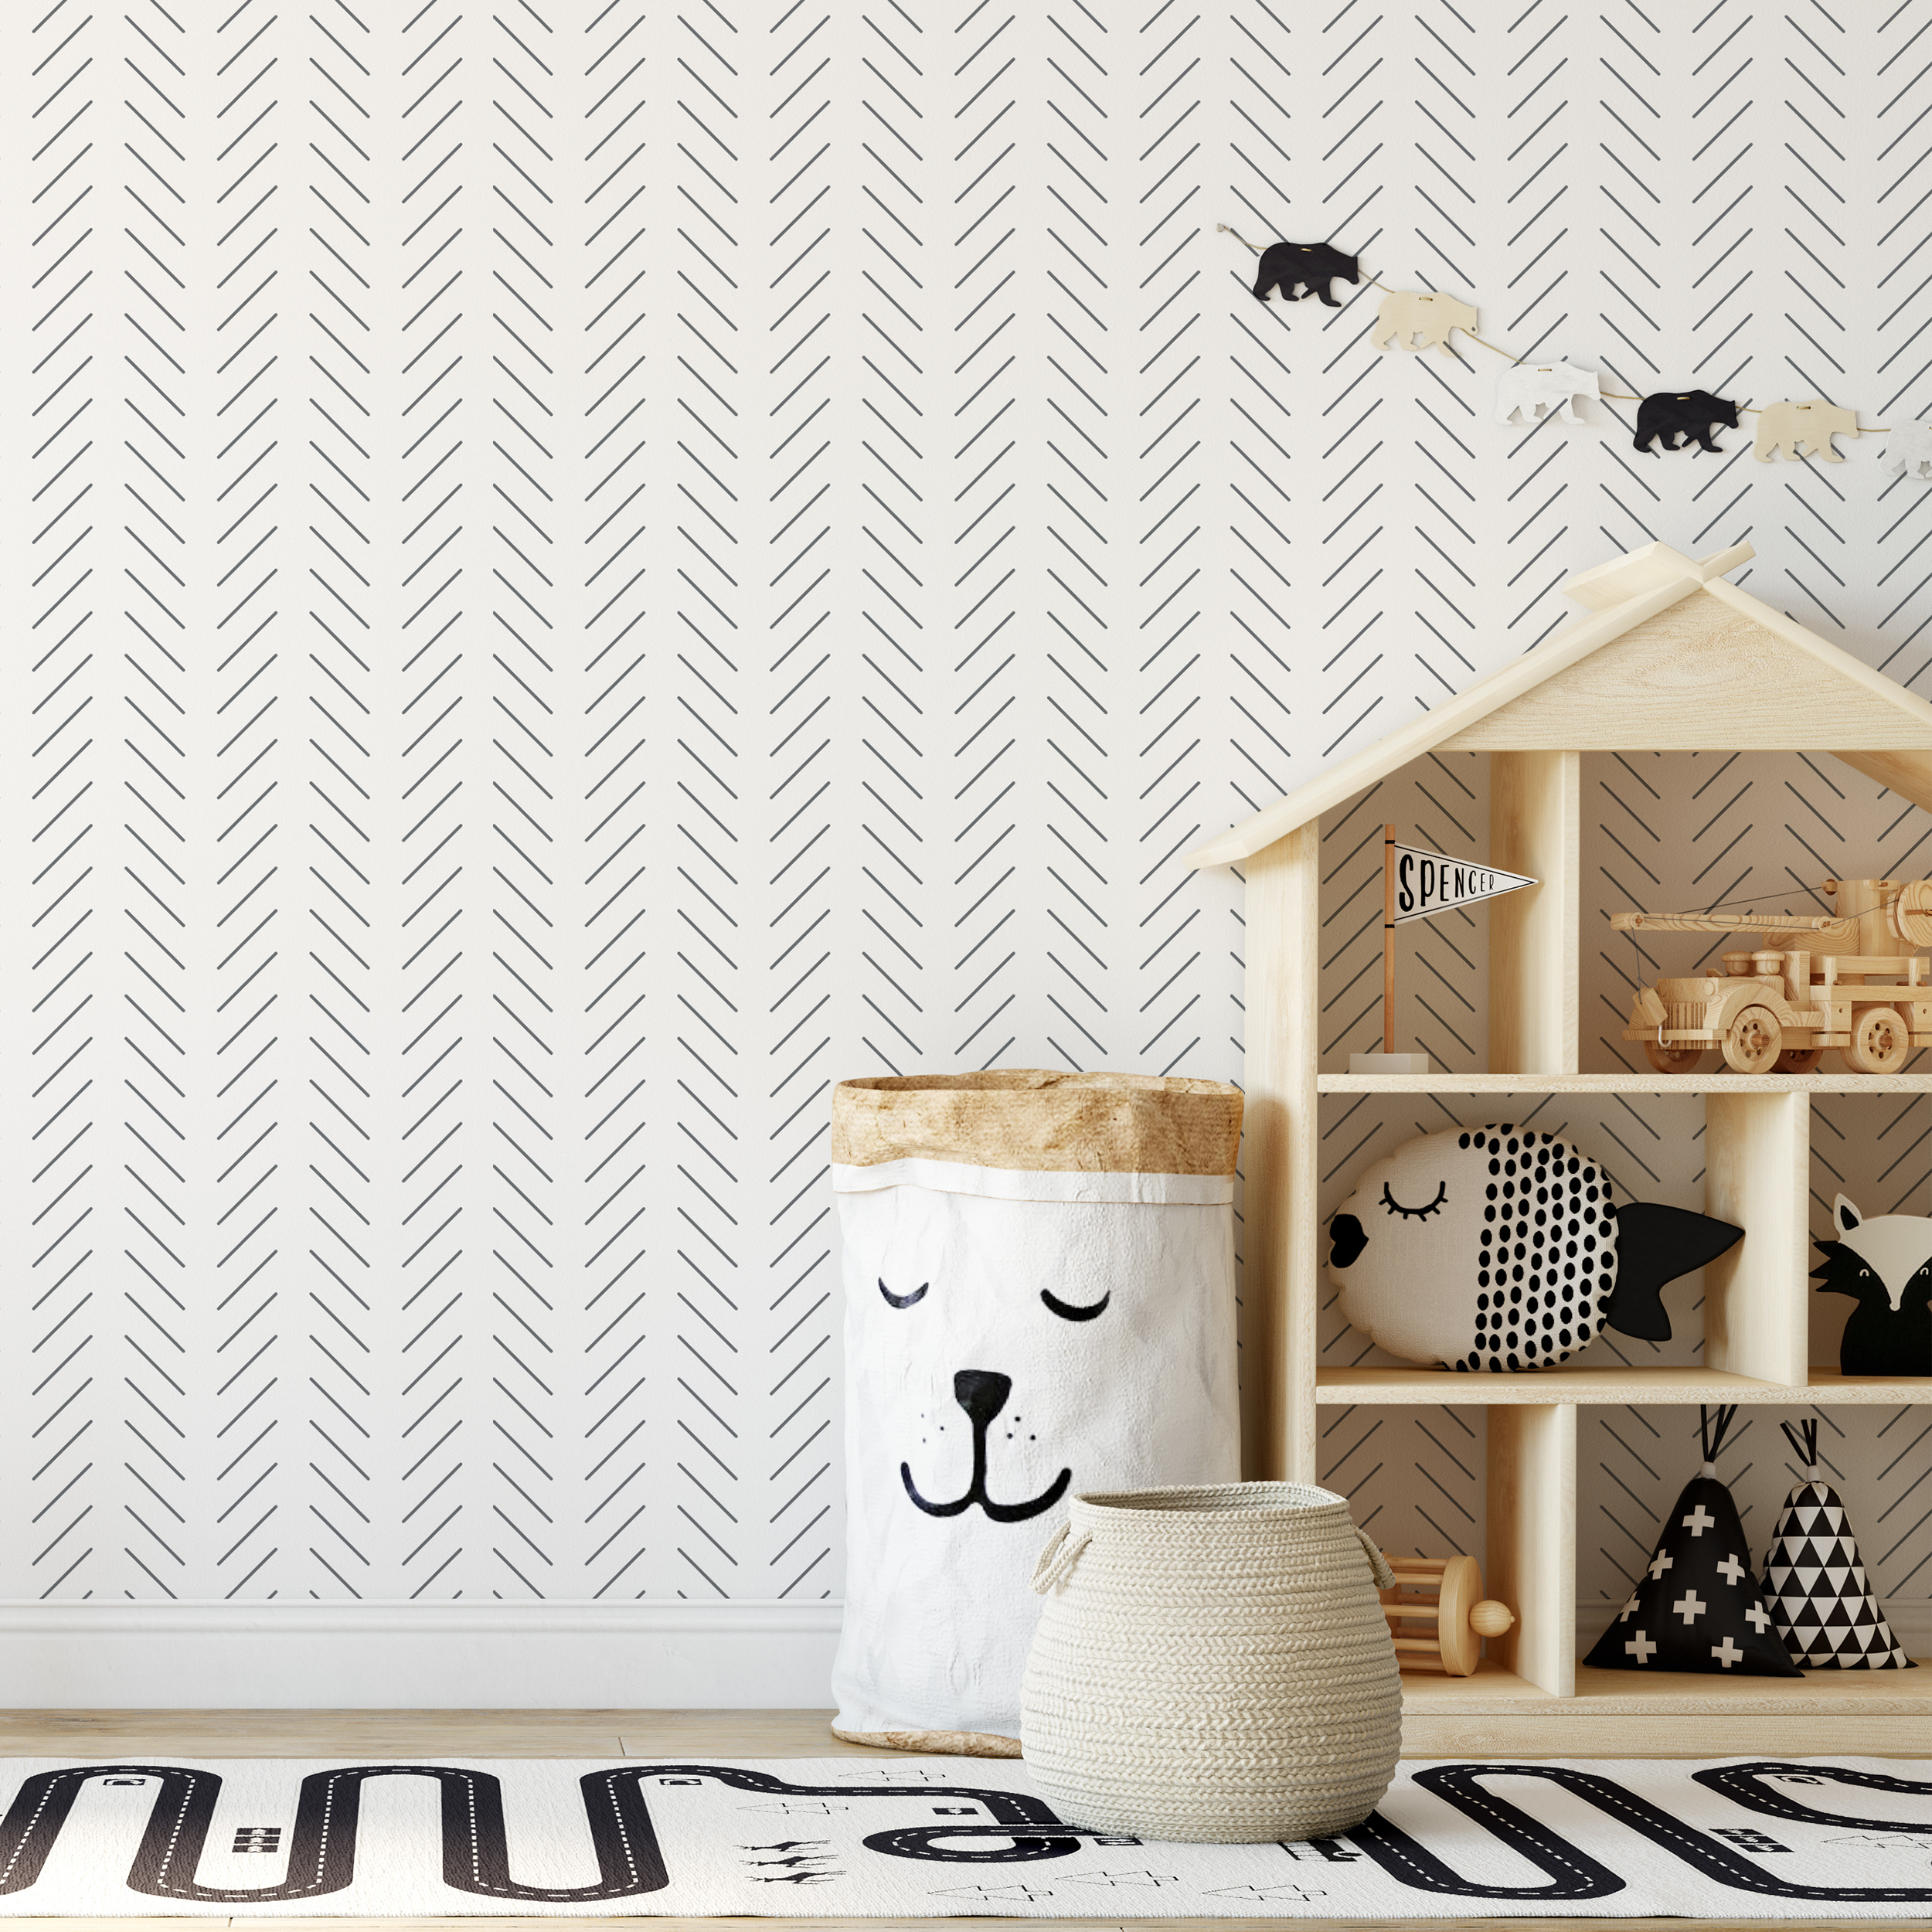
Candy for your casa
Self-adhesive
Our materials are peel and stick for a clean and easy install. No pastes, no glues, no mess to clean up when you’re done.
Removable
Our materials can be easily removed, as well as easily installed. Fast and easy to remove without damaging your wall.
Made to measure
Our wallwraps are made to order. Your wallwrap will be made to fit your space using the least amount of panels. Fewer panels and less waste.

We care about the environment
Safe for humans and safe for the planet
Casa-Candy’s wallwraps are printed with scratch resistant, water based latex inks, which are friendlier for the planet and healthier for humans. You can feel safe wrapping your nursery with Casa-Candy and you won’t lose sleep thinking about how your decisions impact the environment.
Materials
Premium self-adhesive materials that are easy to go up with no mess and no hassle
Casa-Candy’s graphics are printed on premium self-adhesive, removable materials. Easy to go up and easy to come down with no mess and no hassle. You don’t need to worry about messy wallpaper glues and your wall coverings can be removed easily without leaving a mess or damaging your walls. Check out the shop to find the perfect material for your project. We’ll be glad to help if you have any questions or need advice on choosing a material.
You've received your wallwrap, now what?
1. Prepare
- Remove plug and switch covers
- Clean the surface and remove any dust and debris
2. Open and sort
- Open your roll and separate your panels
- Panels are numbered to make it easy
3. Install
- Install your panels from left to right
- Start with panel #1 and repeat until you are done
4. Finish
- Cut around plugs and switches and reinstall covers
- Trim any excess material from the edges


